Showing posts with label Essence. Show all posts

Thursday, May 2, 2013

Cheetah, Leopard, whatever...

Hey everyone

I recently did 3 different cheetah manicures in the span of 2 days. I had to go on a business trip to Ohio recently. Before I left I watched the Devil Wears Prada and I was inspired by Andie's coat. That's where this first mani comes in.


This is a half moon mani using Revlon's Jaded Night, Sinful Color's Nude and Orly's Prince Charming. I love how this turned out so much. It made my nails look so long and I have little nubbins! I also took my son to his very first zoo as an early birthday present, so that's also why there's an animal print theme. 

Next my friend Courtney came with us and wanted me to do her nails. So I packed a bunch of neon colors and did a different cheetah design. 


This is using OPI's My Boyfriend Scales Walls, Wet N Wild's Limelight, Zoya's Paz, Essense's Wanna Be Your Sunshine, and Pure Ice's Celestial. These turned out super cute and she loved them. So it was perfect.


This last one is one of my favorite manicures I did for the month of April. This features Sinful Color's Nude and Zoya's Phoebe. I just love the color combo and I'll have to use it again. 

Tuesday, April 23, 2013

Youtube Tutorial Tuesday: Snow White

Hey everyone

It's Tuesday! That means it's time for a Youtube Tutorial. This time I searched Youtube for nail art tutorials instead of looking for nail artists. It was this way that I found RosLion90. She did a tutorial for Snow White nails. 


So cute. I loved it. I've looked through her videos and there's a few more I'd like to try as well. 


My Snow White totally looks like a Lego character. These turned out so much better than I was expecting. Drawing people in general is not my strong suit. Looks like I need to draw them all like Lego Characters. 


  1. Skin: Sally Hansen Insta-Dri in Petal Pusher
  2. Hair and Eyes :Art Deco long brush in Black (and white for the shine)
  3. Yellow Base: Essence in Wanna Be Your Sunshine 
  4. Dots and Tips: Orly in Snowcone. 

Monday, April 22, 2013

MSMD Monday: Hungry Hungry Hippos

Hey everyone

Today I bring to you a design done by Jacki at Adventures in Acetone. She did these Hungry Hungry Hippos nails that I just adore. I loved playing that game as a kid, but I didn't get to play it very often. I was always a little over eager and so I slammed on the little lever causing a lot of noise. I had to recreate these nails for the little girl that never got to play for very long. 


I did do something a little different. To represent the little marbles that they were after I had to attach some pearls for that 3D look. I love how they turned out. The little blue guy is my favorite just because his smile is so cute. 

Polish:

  1. Blue Hippo Skin: Sally Hansen Insta-Dri in Blue Away
  2. Blue Hippo Details: Sally Hansen Xtreme Wear in Blue Me Away
  3. Yellow Hippo Skin: Essence in Be My Sunshine
  4. Yellow Hippo Detail: Zoya in Pippa
  5. Green Hippo Skin: Sally Hansen Xtreme Wear in Mint Sorbet
  6. Green Hippo Detail: Zoya in Veruschka
  7. Coral Hippo Skin: Sally Hansen Xtreme Wear in Carribean Coral
  8. Coral Hippo Detail: FingerPaints in MichelTangelo
  9. Base and Eyes: OPI in My Boyfriend Scales Walls
  10. Details: Art Deco Long Brush in Black
  11. Red: Sally Hansen Nail Art Pen
Yeah that's a lot of polish, but the end result is totally worth it. Here's the link to Jacki's design: LINKAGE I hope you guys like this weeks edition of MSMD Mondays. 

Monday, March 4, 2013

Where's The Party

Hey everyone

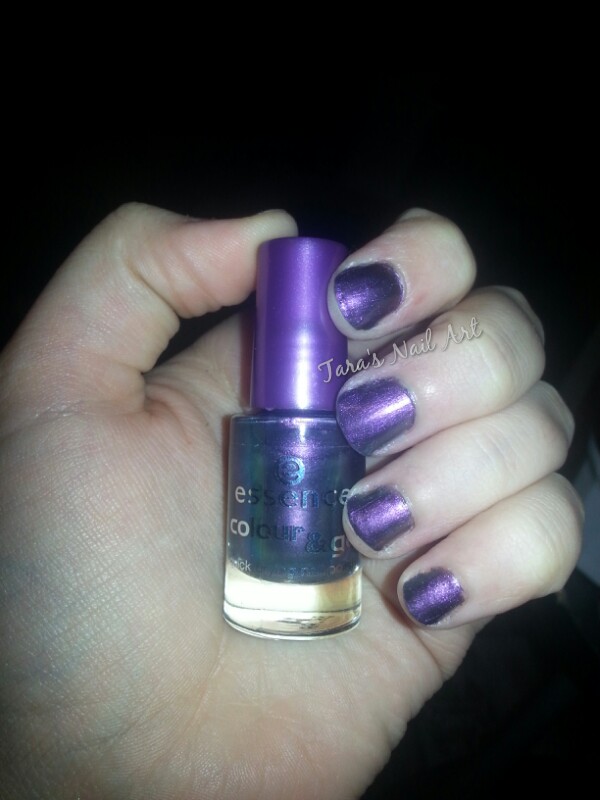
I went to Ulta a while back when they are redoing the Essence bottles. All of the original bottles were marked down to $0.49 a piece. One of the beauties I purchased was Where's The Party. It's a duo-chrome and to be honest I was seriously hesitating because I've had pretty bad luck when it comes to duo-chromes. They typically look pretty and then are super weak when swatched. Where's The Party is not one of those polishes. 


It's not a strong change, mainly on the edges, but it's still there.


I really like this polish. Just wish the brushstrokes weren't so bad. I added some pearls as well to make it extra pretty.


Tuesday, February 5, 2013

I Feel Your Heart Beat to the Beat of the Drum

Hey everyone

So today I have some inspired nails! I was inspired by the lovely Sam at The Nailasaurus. She did these fantastic heartbeat nails featured <<here>>. I quickly fell in love with the design. And it is February after all. So I had to do it!


I love it! I thought it turned out great. I should have submitted it for Monkey See Monkey Do Mondays but, I was a little late as you can see. Today is Tuesday. (I should totally include a Supernatural reference in here, but I'll spare you my fangirl tendencies) 

I started off with Revlon's Fire Fox which is a red matte polish with a subtle red shimmer. Then I added Essence's Glamourous Life. And I made the heartbeat with my Sally Hansen Nail Art Pen in white. Hope you enjoyed them!

Sunday, December 30, 2012

ACNC Day 24: Recreate A Holiday Mani

Hey everyone

We've reached the end of the challenge. I'm so happy that I actually started and finished a challenge. It was super hard to do at times with my little one and having to paint every day. Especially while I work full time and had Christmas crap to do. I'm super proud of myself!

Day 24 was to recreate a Holiday Mani. My first and only choice for this one was IHaveACupcake's Christmas Nail Art on Youtube. You can view the tutorial here.


Polished Used: 
  1. Zoya's America
  2. Wet N Wild's Ebony Hates Chris
  3. Essence's Wanna Be My Sunshine
  4. Sally Hansen Insta-Dri Jumpin' Jade
  5. Orly's Prince Charming


ACNC Day 23: Rudolph

Hey everyone

I had so many plans for this mani, but I ended up not really using anything like I wanted. I did 2 reindeer and put red on one of the noses so it was Rudolph. Then I made Santa on the Thumb and elves on the index and pinky finger. It was a cute mani, my only problem was a forgot antlers. :)


Polishes Used:

  1. Zoya's America
  2. Color Club's Feelin' Groovy
  3. Pure Ice's Magic
  4. OPI's My Boyfriend Scales Walls
  5. Milani One Coat Glitter's Gold Glitz
  6. Wet N Wild's Ebony Hates Chris
  7. Essence;s Glamorous Life


ACNC Day 22: Fruitcake

Hey everyone

These nails... I was dreading doing fruitcake nails. I honestly am not even sure what Fruitcake looks like, I had to google it. I was completely at a loss so I decided to just do a drip mani. I started off by painting my nails with Pure Ice's Magic. Then I took OPI's My Boyfriend Scales Walls and placed dots all on my nails. Using the same color I then made the drips. Lastly I took Essence's Glamorous Life, Wanna Be Your Sunshine, and Trust in Fashion to make the "fruits". And with a little bit of Pure Ice's Silver Mercedes for the highlights, my nails were done. 


The frustrating part? I was dreading doing these nails and once I was done with them, I loved them so much I didn't want to take them off.

Wednesday, December 12, 2012

ACNC Day 10: Lights

Hey everyone

Day 10 was a fun nail night for me. I ended up using 2 different brushes and a ton of nail polish to completely this design. Day 10 was lights. Sounds simple right? Not quite. I thought I'd complicate it by drawing the Grinch as well. I haven't really done a lot of drawing simply because I'm a terrible drawer. When I was a kid I wanted to be an artist, I just didn't realize that you had to have an artistic ability. I guess I have fulfilled my childhood dream of being an artist though, just on teeny tiny canvases. :)

So I started out by drawing my grinch out on my nail, I had to redo it twice. So after that I decided to use PackAPunchPolish's Nail Art Doodle Sheets. If you haven't check them out please do so here. She created these sheets for drawing up to 55 nail designs a page on. My printer went haywire and blew them up so I had a bit of a hard time drawing on them, but to no fault of PackAPunchPolish. It was all my damn printer's fault. Anyway here's my drawing:


I don't know if you can tell but I totally drew it out with a pink pen first and then colored it in with nail polish. I'm not sure why I thought that would translate well, but in the end it worked. My nails are quite tiny so I ended up not making the hat, plus it looked a little lame. 


Here's the final product! I loved my nails, I thought they were adorable. Took me forever to do them, but it was totally worth it. 


Here's a lovely instagram photo of all of my supplies I used. 

  1. Wet & Wild Megalast In Wet Cement
  2. OPI in My Boyfriend Scales Walls (it's under)
  3. Julep in Leah
  4. Essence Colour & Go in Be Your Sunshine
  5. Essense Colour & Go in Glamorous Life
  6. Art Deco Long Brush in Black
  7. Pure Ice in Silver Mercedes
  8. Pure Ice in Hot Tamale
  9. Essence Colour & Go in Trust in Fashion
  10. Sally Hansen Xtreme Wear in Blue Me Away
  11. 2 Bundle Monster Nail Art Brushes
  12. Bundle Monster Dotter
  13. Chip Ahoy Cookie Lid
  14. Paper Towels 
  15. Onyx Profession 100% Pure Acetone (not pictured)
  16. Q-Tip Precision Tip Q-Tips (not pictured) 

Wow! That was a lot for a manicure that I only wore for 1 day. Makes me sad thinking about it. But this won't be the last you see of the Grinch. I have plans to use him again in a mani coming up. Also feel free to follow me on Instagram @Tara825c. Be aware though, I post a lot of pictures of my son as well. He's too cute not to. :D

ACNC Day 8: Starry Night

Hey everyone

Day 8 was Starry Night and it was easily the one I was most excited about doing. Way back when I attempted a Starry Night mani and once I realized how tough it was I only did it on my thumb and then quickly removed them because I didn't like it. Fast forward 2 years and I'd never attempted it again. I love the painting and new this would be the time to retry and earn my title back as a nail artist. Freelance of course but who's getting technical? 


I started off with a base of Orly's Sweet Peacock. Then used Sally Hansen Insta-Dri for the swirl. I accented the swirl using OPI's My Boyfriend Scales Walls and Orly's Mysterious Curse. I used Essence Be Your Sunshine for the stars. I did a tip with my Art Deco Brush and added a top coat. The other nails I used Blue Away and Milani's 3D Holographic in Cyberspace for give it that extra shine. I was so pleased with this manicure. Sadly it was my day off so I didn't get to show it off like I wanted. I do have plans to redo the design on nails for sale in my Etsy shop, so be on the look for those soon!

And just for fun here's 2 years ago's design. Hope you're as pleased with my progress as I am. 


Saturday, November 3, 2012

Halloween!

Hey everyone!

Another Halloween has come and gone. This year was extra special for me. In April I had my son Andrew and this was his first Halloween.

I went on Etsy and found a Charlie Brown costume. And I just could resist painting my nails like Charlie Brown's shirt. 


I used 3 coats of Essence Colour & Go Nail Polish in Mellow Yellow. Then I used a Sally Hansen nail pen in black for the outline and filled it in with an Art Deco long brush in black.

Hope you all enjoyed my Halloween nails and had a great Halloween! Below is a picture of me and my little man!